
One hard freeze can crack a water line, a pump or a water heater tank, and those repairs often aren’t cheap. Winterizing your RV takes an afternoon and a few gallons of RV antifreeze. This checklist covers the steps that apply to most travel trailers, fifth wheels and motorhomes.
Your owner’s manual comes first. Valve locations, bypass setups and air-pressure limits differ by brand and model, and the manufacturer’s procedure overrides any general guide, including this one.
What you need
- Non-toxic RV antifreeze (pink, rated for potable water systems). Two to three gallons covers most rigs. It is not the same as automotive antifreeze, which must never go in an RV fresh-water system.
- A water pump converter kit or a short hose to draw antifreeze from the jug, if your rig doesn’t have a built-in winterizing valve.
- A water heater bypass kit, if your rig doesn’t already have one.
- For the air method, a compressor and a blow-out plug for the city water inlet.
- Basic tools, and gloves.
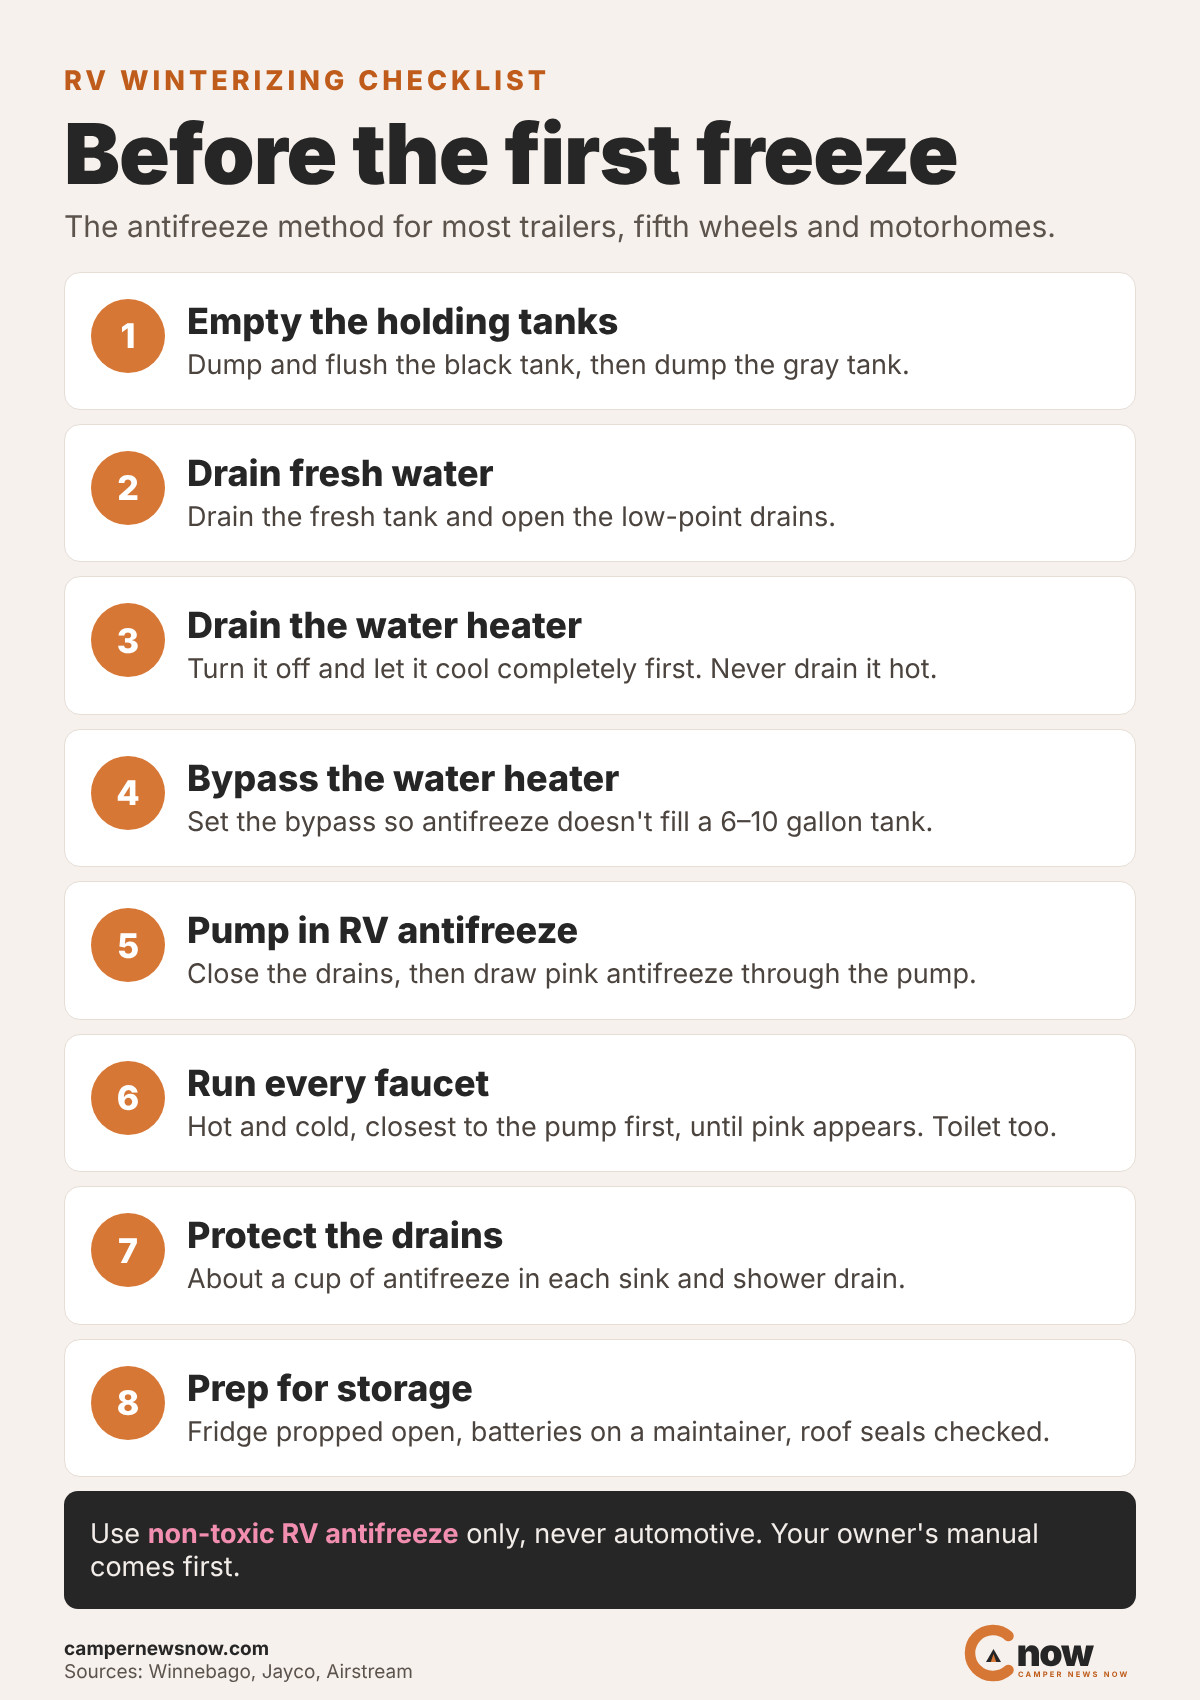
Step by step: the antifreeze method
- Empty the holding tanks. Dump and flush the black tank, then dump the gray tank.
- Drain the fresh water tank and open the low-point drains to empty the lines.
- Drain the water heater. Turn it off and let it cool completely first, then remove the drain plug or anode rod and open the pressure relief valve. Never drain a hot water heater.
- Bypass the water heater. Set the bypass valves so antifreeze doesn’t fill the tank. A typical water heater holds 6 to 10 gallons, which would waste that much antifreeze.
- Close the low-point drains and reinstall the plugs.
- Connect the pump to the antifreeze. Use the winterizing valve or a converter hose so the pump draws from the jug instead of the fresh tank.
- Run each faucet until pink antifreeze appears. Start with the faucet closest to the pump and work outward. Do both hot and cold sides of every faucet, the shower, any outdoor shower, and the toilet.
- Protect the drains. Pour about a cup of antifreeze into each sink and shower drain to protect the P-traps, and leave some in the toilet bowl.
- Don’t forget the extras. Ice makers, washing machines, dishwashers and outdoor kitchens all need their own winterizing steps, so check the manual for each one.
The compressed-air method
Some owners blow the lines out with compressed air instead of, or before, adding antifreeze. Attach a blow-out plug to the city water inlet, set the compressor’s regulator low, and open each faucet one at a time until only air comes out.
Pressure limits vary. Winnebago’s guide says not to exceed 30 PSI, and too much pressure can damage fittings or the water heater if the bypass isn’t set correctly. Many owners use air and then antifreeze in the traps as a backup.
Storage prep
- Clean out the fridge and leave the door propped open to prevent mold.
- Remove food that could attract rodents, and seal gaps where you can.
- Charge the batteries, then disconnect them or put them on a maintainer. Batteries that sit discharged can freeze.
- Check the roof seals and sealant before winter weather arrives.
- Cover the tires or park on boards to limit sun and ground damage.
De-winterizing in spring
In spring, flush the antifreeze out with fresh water, take the water heater out of bypass, refill it before turning it on, and sanitize the fresh water system following your manual.
Sources
- Winnebago: RV Winterizing Guide
- Winnebago: How to Winterize Your RV and Storage Considerations
- Jayco: How to Winterize Your RV’s Plumbing System
- Airstream: Winterization Guide for Travel Trailers
Find camps along your route with QuickCamp
Paste a Google Maps directions link or type a route like San Francisco to Yosemite. QuickCamp maps the camps, hikes, Scout finds and safety conditions along the way, and saves your trips. No sign-in needed to search.
QuickCamp is made by the publisher of Camper News Now.
Get the Camper News Now monthly
Closures, fee changes, recalls and new trip ideas for tent and RV campers. One free email a month.